Styling Tips
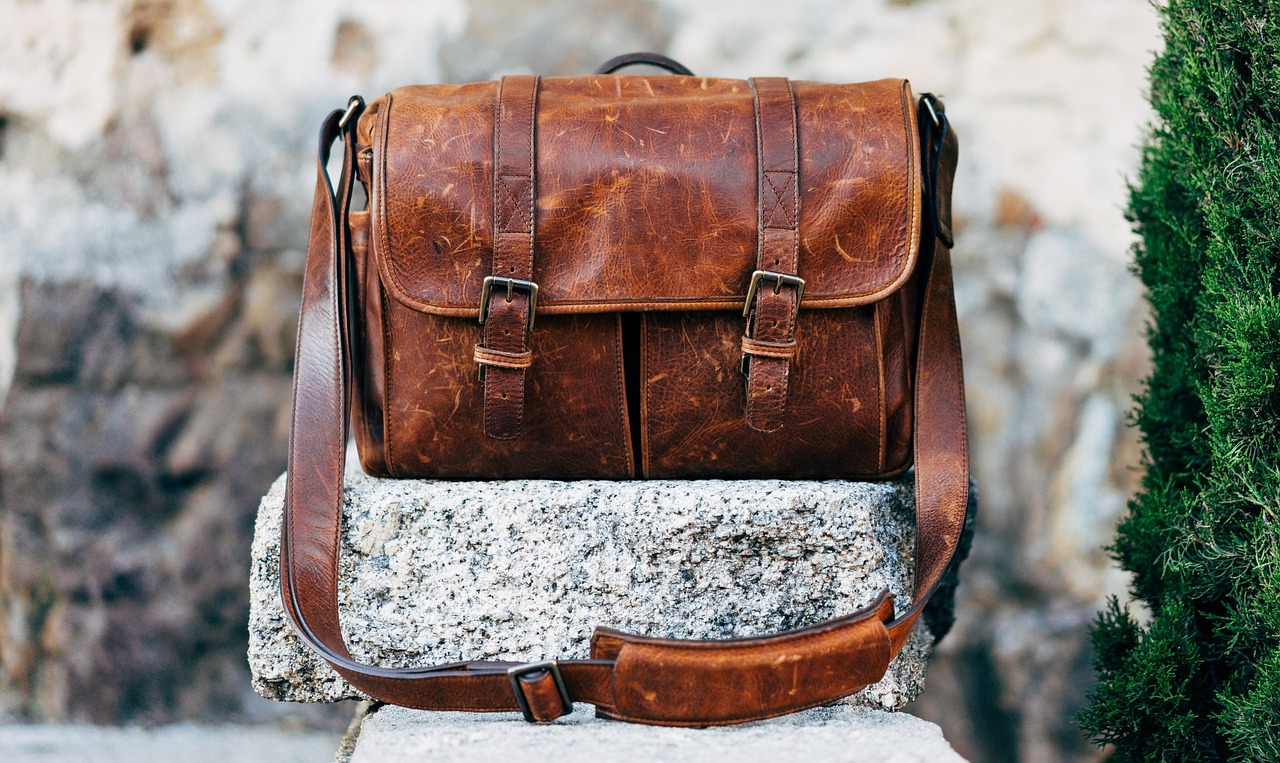
There's something deeply satisfying about taking a material that's been beaten up by the elements and giving it a second life as something you carry every day. Canvas tarps are perfect for this. They're thick, durable, and develop a beautiful patina over time. But on their own, a canvas tote can feel a little plain — like a farmer's market bag rather than something you'd carry to a design meeting. The fix is simple: line it with silk. The contrast between the rough exterior and the smooth, colorful interior is a small daily pleasure that never gets old.
This project takes an afternoon and requires only basic sewing skills. You'll need an old canvas tarp (or a piece of heavy cotton canvas), a yard of silk or silk-blend fabric, heavy-duty thread, a sewing machine, scissors, pins, and a leather strap or webbing for the handles. If you don't have a sewing machine, you can hand-sew the whole thing, but it will take longer and your stitches need to be strong.
Start by deciding on your tote dimensions. A good everyday size is roughly 14 inches wide, 15 inches tall, and 4 inches deep. Cut two rectangles of canvas for the front and back, plus two narrower strips for the sides and one long strip for the bottom. If your tarp has grommets or seams, work around them — or incorporate them as design details. A little rust stain or a faded edge adds character.
Before sewing, wash and dry your canvas if it's especially dirty. This will also shrink it slightly, which is good — you want the final bag to be washable. Iron the canvas flat, but don't worry about perfection. Wrinkles are part of the look.
For the silk lining, cut the same pieces but slightly smaller — about a quarter inch smaller on each side. This prevents the lining from bunching inside the bag. Choose a silk in a color that makes you happy when you open the bag. Deep emerald, oxblood, or a soft champagne works beautifully against natural canvas. If you're using a silk blend, make sure it's still smooth to the touch; the whole point is the tactile contrast.
Sew the canvas pieces together first, right sides facing. Start with the sides and bottom, then attach the front and back. Use a half-inch seam allowance and reinforce the corners with a second line of stitching. Turn the bag right side out and press the seams flat. At this point, you have a basic canvas tote. Try it on your shoulder to check the proportions before you go further.
Now make the lining the same way, but leave a small opening — about four inches — in the bottom seam. This is how you'll turn the bag right side out later. Slide the lining inside the canvas bag, wrong sides together, and pin the top edges together. Sew around the top with a half-inch seam allowance, going slowly around the corners.
Reach through the opening in the lining and pull the entire bag through so the canvas is on the outside and the silk is on the inside. Sew the opening in the lining closed by hand. Press the top edge of the bag to give it a crisp finish.
For the handles, cut two lengths of leather strap or heavy webbing. Pin them to the outside of the bag, about three inches in from each side, and sew them on with a box stitch — a square with an X through it. This is the strongest way to attach handles, and it looks intentional and industrial.
Finally, consider adding a small interior pocket in the silk lining for your phone or keys. It's a five-minute addition that makes the bag infinitely more usable. And if you want to protect the canvas, rub it with a little beeswax or a fabric wax bar. It will darken the color slightly and give it a subtle sheen.
